making armor from steel tread plates,Introduction to Making Armor from Steel Tread Plates Making armor from steel tread plates can be an interesting and chal
Introduction to Making Armor from Steel Tread Plates
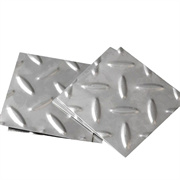
Making armor from steel tread plates can be an interesting and challenging DIY project. Steel tread plates are thick and durable, which makes them suitable for creating protective gear. However, it's important to note that creating actual combat - worthy armor may be illegal in some areas without proper authorization, and this is more often for the purpose of cosplay or historical reenactment.
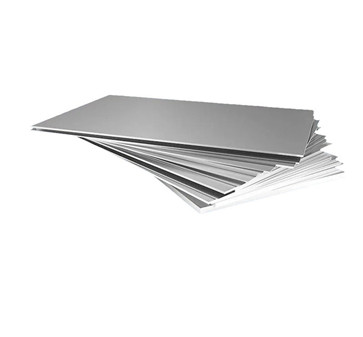
First, you need to source the steel tread plates. You can often find them at scrap yards or industrial supply stores. Make sure the plates are in good condition, without any major cracks or deformities. When you have your plates, you'll need to measure and cut them to the appropriate size for the part of the armor you're making, like a chest piece or a shoulder guard.

Tools Required for Making Armor from Steel Tread Plates
To work with steel tread plates, you'll need some specific tools. A powerful cutting tool like an angle grinder is essential for cutting the plates to size. You also need a drill to make holes for attaching different parts of the armor together or for adding straps. Safety gear is a must too. Goggles to protect your eyes from flying sparks when cutting, and thick gloves to protect your hands from the sharp edges of the plates.
Design Considerations
When designing your armor from steel tread plates, you need to consider both functionality and aesthetics. If it's for cosplay, you might want to mimic the look of a particular character's armor. For historical reenactment, accuracy to the era is crucial. You can add details like etching or painting to make the armor look more authentic. But don't forget about the practical side. The armor should be comfortable to wear for an extended period, so make sure the edges are smoothed out and the weight is evenly distributed.
Assembly of the Armor
once you have all your cut pieces and drilled holes, it's time to assemble the armor. You can use bolts, rivets or strong adhesives to hold the parts together. If you're using straps, make sure they are wide enough to distribute the weight and strong enough to hold the armor in place. Test the fit of the armor as you assemble it. It should be snug but not too tight, allowing for some movement.
Finishing Touches
After the assembly, you can add the finishing touches to your steel tread plate armor. This could include polishing the surface to make it shiny, or adding a weathered look if it's for a more battle - worn appearance. You can also add any extra decorative elements like chains or studs at this stage.
Question 1:
What are the main challenges in making armor from steel tread plates?
Answer: One of the main challenges is cutting the thick steel tread plates accurately, which requires powerful tools like an angle grinder. Another challenge is ensuring the armor is both functional and comfortable to wear, as it needs to be well - designed and assembled properly.
Question 2:
Where can one find steel tread plates for making armor?
Answer: One can often find steel tread plates at scrap yards or industrial supply stores.
Below is,making armor from steel tread platespartial price list| Category | Market Price | Use Cases |
| 1/4 inch steel plate price | 1080$/Ton | Train cars, ships |
| 1 8 inch stainless steel plate | 1090$/Ton | Stair handrails, walls |
| 1/8 stainless steel plate 4x8 price | 1095$/Ton | Processing equipment, conveyor belts |


